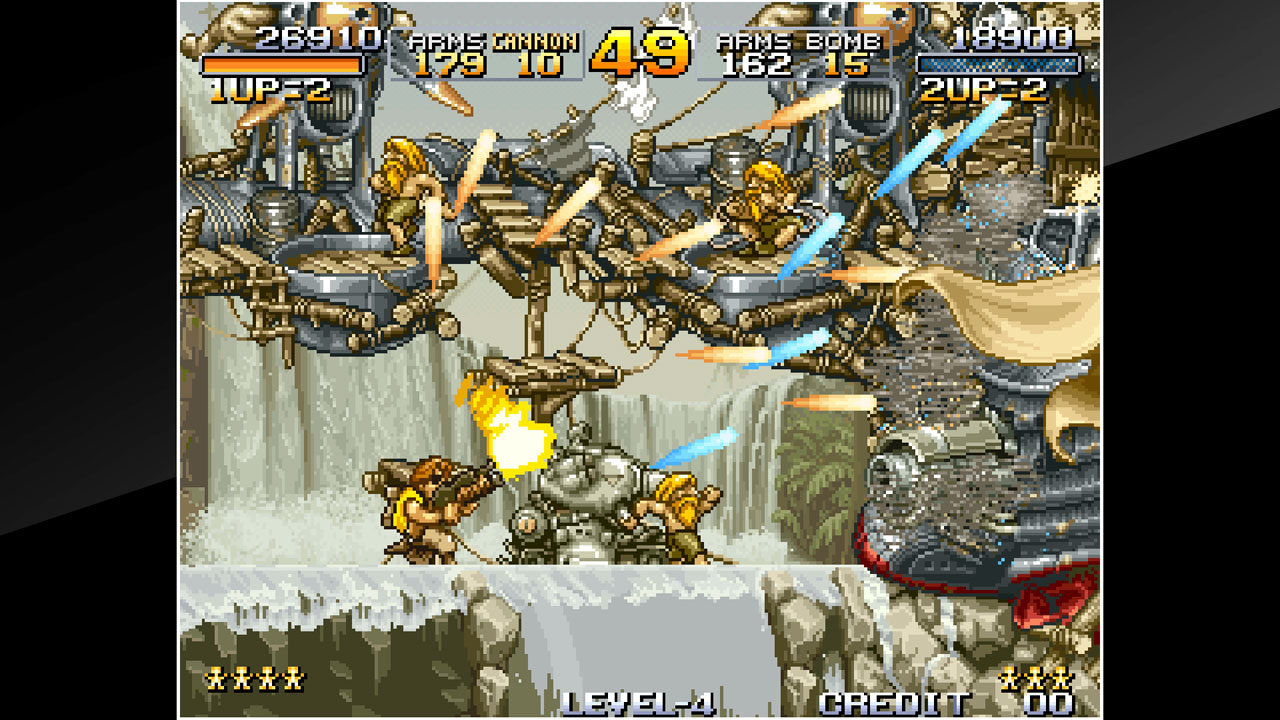
SNK에서 만든 오락실 고전 게임의 명작 Metal Slug를 해보자.
NEOGEO라는 게임 플랫폼 기판을 emulation하는 gngeo라는 프로그램을 포팅해야 한다.
아래는 gngeo 소스코드를 다운로드 받고 buildroot에서 만들어진 SDL 라이브러리를 이용하도록 설정해서 빌드하는 과정이다.
그리고 빌드 후에 만들어진 실행파일을 buildroot에서 사용하는 overlay-rootfs로 복사를 한다.
# mkdir gngeo
# cd gngeo/
# wget -O gngeo-pi-0.85.tar.gz https://github.com/ymartel06/GnGeo-Pi/blob/master/releases/sources/gngeo-pi-0.85.tar.gz?raw=true
# tar xvfz gngeo-pi-0.85.tar.gz
# cd gngeo-pi-0.85/
# mkdir installdir
# CC="/home/odroider/buildroot-2019.11/output/host/bin/arm-linux-gnueabihf-gcc" SDL_CONFIG="/home/odroider/buildroot-2019.11/output/host/arm-buildroot-linux-gnueabihf/sysroot/usr/bin/sdl-config" LDFLAGS=" -lm" ./configure --host=arm-linux --target=arm-linux --disable-i386asm --prefix="/home/odroider/gngeo/gngeo-pi-0.85/installdir/"
# make install
# mkdir ~/buildroot-2019.11/board/foxnuxone/rootfs_overlay/usr
# mkdir ~/buildroot-2019.11/board/foxnuxone/rootfs_overlay/usr/bin
# cp installer/arm-linux-gngeo ~/buildroot-2019.11/board/foxnuxone/rootfs_overlay/usr/bin/gngeo
위와 같이 진행하고 buildroot를 다시 make 하면 gngeo 실행파일이 포함된 OS 이미지가 생성된다.
이 OS 이미지를 SD카드에 기록하고, rootfs를 리사이징 한뒤 BIOS, 게임롬, 설정 파일들을 /home/roms 폴더 아래에 복사한다.
복사하고 나면 아래와 같은 파일들이 보여야 한다.
# ls -lap
drwxr-xr-x    4 root     root          1024 Jan  1 00:11 ./
drwxr-xr-x    3 root     root          1024 Jan 29  2020 ../
-rw-r--r--    1 root     root        220778 Jun 18  2012 gngeo_data.zip
-rw-r--r--    1 root     root          3235 Jan  1 00:11 gngeorc
-rw-r--r--    1 root     root      13165412 Aug 28  2016 mslug.zip
-rw-r--r--    1 root     root      17473893 Aug 28  2016 mslug2.zip
-rw-r--r--    1 root     root      80456836 Aug 28  2016 mslug3.zip
-rw-r--r--    1 root     root      63381492 Sep  5  2016 mslug4.zip
-rw-r--r--    1 root     root      81157379 Sep  5  2016 mslug5.zip
-rw-r--r--    1 root     root       1430763 Jan 29  2020 neogeo.zip
gngeo 설정 파일인 gngeorc 내용은 아래와 같다.
# GNGEO Sample resource file

# Path to dynamicly load opengl (only used for the opengl blitter)
libglpath /usr/lib/libGL.so

# Where your rom are?
rompath /home/roms

# Where did you put yout neogeo.zip bios file?
biospath /home/roms

# Where gngeo can find its datafile (font/skin/etc.)
datafile /home/roms/gngeo_data.zip

# Play in fullscreen?
fullscreen true

# Which blitter? 'gngeo --blitter help' for a list
# soft
# opengl
# yuv


# Which effect? 'gngeo --effect help' for a list
# none
# scanline
# effect scanline50
effect scale2x
# effect scale2x50
# effect scale2x75
# effect doublex
# effect sai
# supersai
# effect eagle
# effect none

# Enable the raster interrupt?
# raster true

# scale the output image
# scale 2

# Have interpolation?
interpolation false

# Have sound?
sound true

# Shown FPS
showfps false

# autoframeskip control
autoframeskip true
sleepidle false

# Synchronise the display with VBLANK (you may desactiva autoframeskip if vsync is on)
vsync false

# enable joystick support ?
joystick false

# enable the 68k inline debuger? (disable the sound)
debug false

# Use hardware surface for the screen?
hwsurface true

# Use PAL timing? (buggy)
pal false

# Sample rate
samplerate 22050

# country?
# japan, usa, europe
country usa

# system type? arcade or home or unibios (unibios.rom needed)
system arcade

# NeoRageX-style hotkey configuration
# Up to 4 hotkeys per player can be defined (
# Only fire buttons (A-D) can be combined
# A = 1, B = 2, C = 4, D = 8

# Samples:
# Map CD to P1 hotkey 0
p1hotkey0 4,8
# Map BC to P1 hotkey 1
p1hotkey1 2,4
#Map ABC to P1 hotkey 2
p1hotkey2 1,2,4
#p1hotkey3
#p2hotkey0
#p2hotkey1
#p2hotkey2
#p2hotkey3

# Key configuration
# order : A,B,C,D,START,COIN,UP,DOWN,LEFT,RIGHT
# please see SDL_keysym.h for key definition
# or push F4 during game : the keysym code of
# keys will be printed (also work for joysticks)
# same thing as joypads for hotkeys


Azerty configuration:
# p1: w,x,q,s,&,",up,down,left,right
# p2: l,m,o,p,é,',NUM 8,NUM 5,NUM 4,NUM 6
p1key    119,120,113,115,38,34,273,274,276,275
#p2key    108,109,111,112,233,39,264,261,260,262

p1control A=K119,B=K120,C=K113,D=K115,START=K38,COIN=K34,UP=K273,DOWN=K274,LEFT=K276,RIGHT=K275,MENU=K27
#p2control A=K108,B=K109,C=K111,D=K112,START=K233,COIN=K39,UP=K264,DOWN=K261,LEFT=K260,RIGHT=K262,MENU=K27

# Qwerty configuration:
# p1: z,x,a,s,1,3,up,down,left,right
# p2: l,;,o,p,2,4,NUM 8,NUM 5,NUM 4,NUM 6
#p1control A=K122,B=K120,C=K97,D=K115,START=K49,COIN=K51,UP=K273,DOWN=K274,LEFT=K276,RIGHT=K275,MENU=K27
#p2control A=K108,B=K59,C=K111,D=K112,START=K50,COIN=K52,UP=K264,DOWN=K261,LEFT=K260,RIGHT=K262,MENU=K27

# some sample joystick configuration
# Xbox360
# p1control A=J0B0,B=J0B1,C=J0B2,D=J0B3,START=J0B6,COIN=J0B10,UP=J0a1,DOWN=J0a1,LEFT=J0A0,RIGHT=J0A0,MENU=J0B7
# Dualshock2
# p1control A=J0B2,B=J0B1,C=J0B3,D=J0B0,START=J0B9,COIN=J0B8,UP=J0a1,DOWN=J0a1,LEFT=J0A0,RIGHT=J0A0

# Meaning of the code:
# Kxxx : keyboad key number xxx
# JxByy : Joystick number x Button yy
# JxAyy : Joystick number x Axe yy (use a lowercase 'a' if you need to invert the axis)
# JxHyy : Joystick number x Hat yy
# by the way, you can define a button multiple time, for example A=J0B0,A=K123,etc..
실행할때 gngeorc 파일이 있는 위치를 알려주면 된다. 화면 2배 확대 모드(320x240 => 640x480)도 함께 설정하였다.
gngeo --scale=2 --datafile=/home/roms
게임롬 실행 까지는 문제가 없으나, 키입력이 동작하지 않는다. 원인이 무엇인지 좀 더 확인해 봐야 겠다.
그리고 1024x600 전체 화면을 사용하기 위한 특별한 scaler 함수도 만들어 보자.
<업데이트>
키 입력 문제 해결.
다른 키 입력은 가능하였으나 동전 투입과 시작 버튼만 입력이 유효하지 않았던 것이다.
원래 숫자키 3과 4가 각각 동전과 시작 버튼으로 매핑되어 있는데 SDL에서 인식하지 못하는 것 같다. 또한 gngeorc 수정만으로는 다른 키로 리매핑이 안되는 문제도 있다.
어쩔수 없이 하드코딩된 키 설정 소스코드(src/conf.c)를 아래와 같이 수정하여 게임을 하는데 성공(?) 하였다. ㅎㅎㅎ
Start는 K116 'T', Coin은 K117 'U'로 변경한 것이다.
static char * default_p1control = "A=K119,B=K120,C=K113,D=K115,START=K116,COIN=K117,"
                "UP=K273,DOWN=K274,LEFT=K276,RIGHT=K275,MENU=K27";
SDL Key 값 참고 소스: https://www.libsdl.org/release/SDL-1.2.15/include/SDL_keysym.h
'임베디드' 카테고리의 다른 글
| 매우 저렴한 USB MCU CH55x (0) | 2021.03.03 |
|---|---|
| Qt를 이용한 제품 개발시 고려할 비용들 (0) | 2020.03.31 |
| SDL 게임을 돌려보자! (0) | 2020.01.28 |
| PWM 기능과 LCD Backlight 드라이버 (0) | 2020.01.23 |
| 오디오 DAC 와 Headphone 앰프 출력 이용 (ALSA) (0) | 2020.01.22 |


